Monday 29 August 2011

Foxton Artwork


I am prepping myself to get all the artwork done for Foxton which is in 3 weeks.  I have been anxious that I am not going to  have enough artwork for the 2 day event.  I am also going to be putting my artwork on www.scrapartjournal.co.uk which will be available for sale.  All artwork is original unless otherwise stated.

Saturday 2 July 2011

Digital Mixed Media

Digital Mixed Media
I created this image by switching between Illustrator, Photoshop and Artrage to achieve this look, I am trying to aim for a more real painted look than a digital one, as I do like the grungy look that is achieved when mixing wet paint.

I am setting myself a target to try and get this right.

Thursday 30 June 2011

I went down to the woods today ........

My other passion which I  don't give enough time to is my photography, being the gypsies that we are, every day we discover a new walk and push our boundaries  to discover a new and unexplored walk.  This evening was no different as we set off for a walk round the Sandy repeater, nearing the end of our journey we came to a small but deep wood on the edge of a working quarry.  So out came the trusty camera  and these are just a few of my best images I am sharing:


my tall skinny tree facebook didn't like!


Sunday 26 June 2011

Digital painted folk art faces painted in Photoshop

As you know we have become gypsies living in a big American RV, so to say that space  and weight are big factors when thinking creatively is only just a slight exaggeration.  So really for me its become a necessity to find another way of getting my art out of my head.
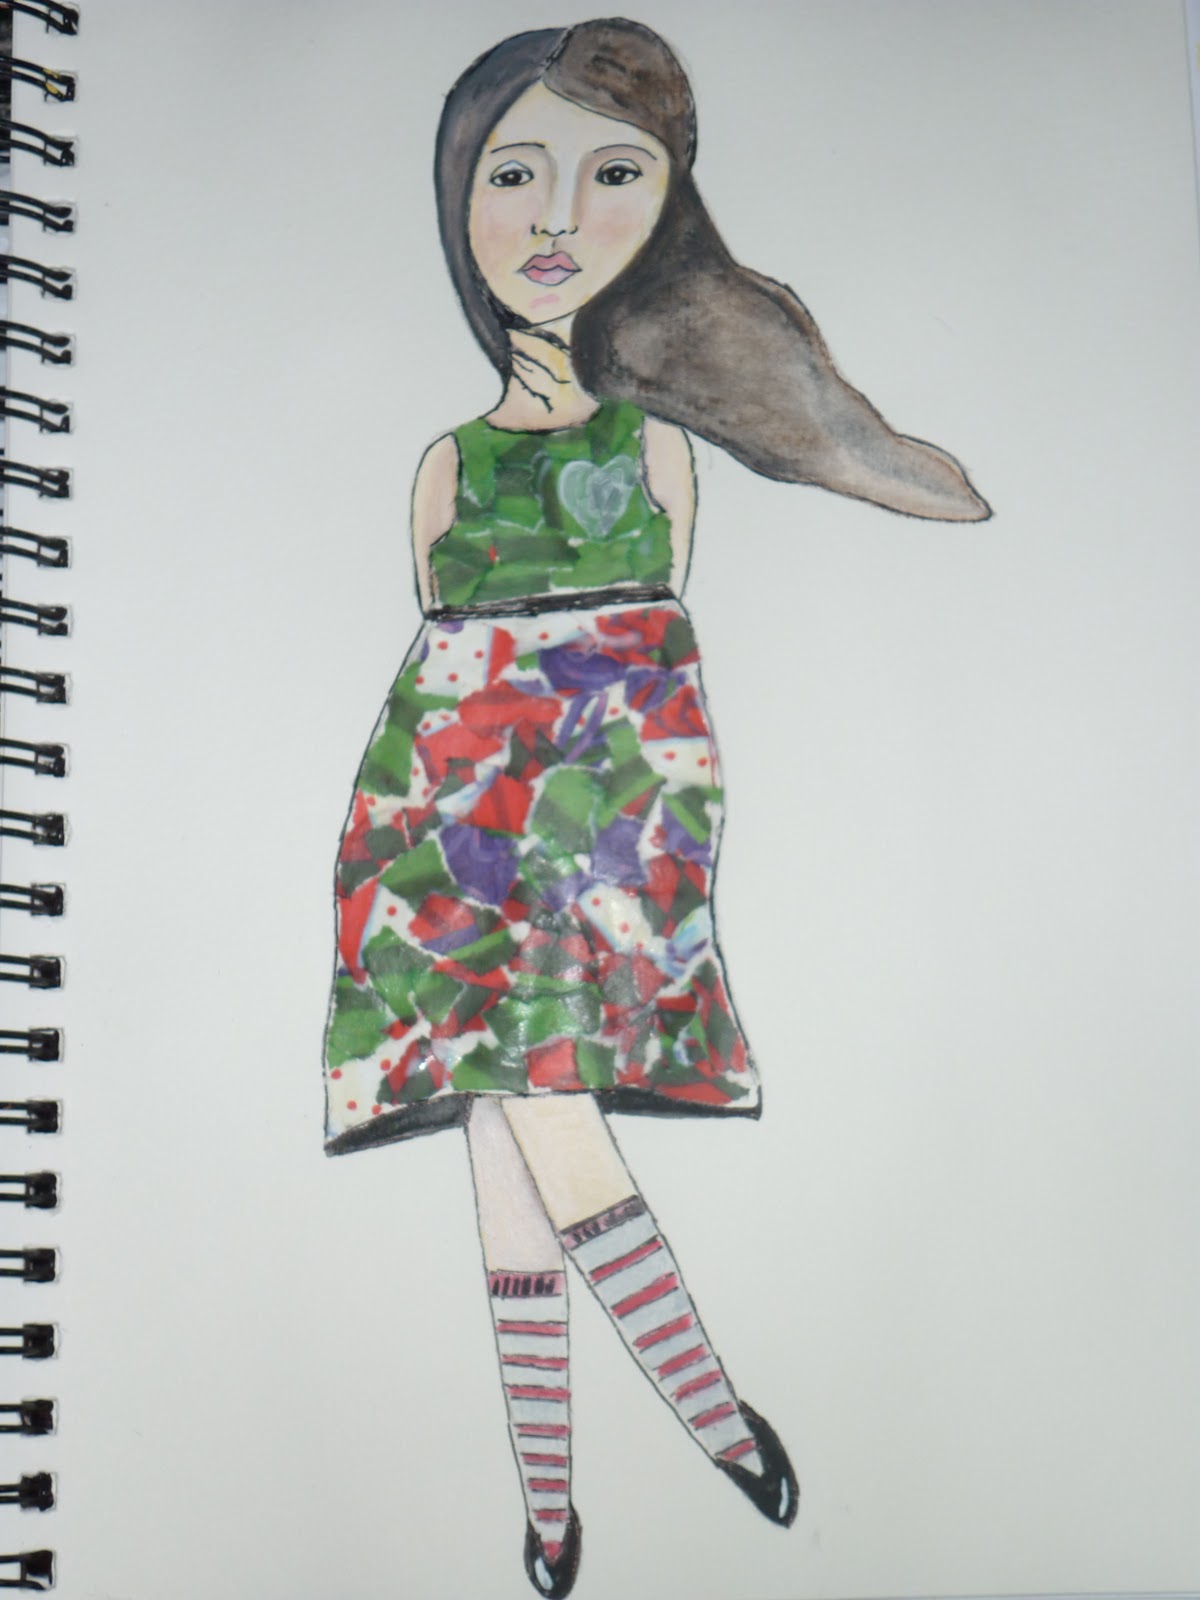
if I have to be critical then I have to say the hair needs working on with this digital  collage.

I am still deeply inspired by  wonderful women like Kelly Rae Roberts, Willowing and of course Suzi Blu .

 Getting the shading right is crucial to the digital collaged face working
 fairy wings, I do so love them

 who says hair can't be other colours??
 oops! didn't mean for her lips to come out so massive

I have been searching the internet high and low for some digital face painting techniques for either Photoshop or Artrage, sadly they are so far and few between, Youtube has not been forthcoming, its almost like the perfect Photoshop digital folkart painting tutorials that I would love to be able to access are just not there.  Which of course leads me to wonder if people like my digital art, would they be prepared to pay for some lessons?  I am confident that the Photoshop Element users would not loose either.  If I can get enough interest in this then the videos I have already created would be available for downloading.

Saturday 18 June 2011

Gypsy Life

I love my gypsy lifestyle, I don't miss bricks and mortar at all.  Today we are on a gorgeous field, there is nothing like the sound of rain, reminds me of the zinc roofs  in Africa that clatter and make one awesome racket.  Tomorrow I have a stall down in Berkhampstead.  This is my second time back there, this time I feel more organised in terms of having stuff to sell.    I realised that you need smalls to cover your table and travel expenses and having cards, and microscope glass pendants as well as craft cd's help cover this initial outlay.  Last week we bought a whole load of assorted sized picture frames which I have been filling up with my digital collaged artwork which I am adding to my range of products.

I've managed to achieve this by working both in Artrage and Photoshop making use of both of the features these programs have.

Wednesday 15 June 2011

Finally !!! the Penny has dropped

I hadn't picked up Bamboo tablet in well over a year, and what a shame I just left it in the draw.  As we are now full time wanders, space is really a premium so you can imagine my delight at working between Artrage and Photoshop to produce  some amazing digital artwork that looks like its been painted.  So happy days for me.

Printing it onto the right paper is the key to the final success of the printed images.

Sunday 27 March 2011

An experiment

I decided to try and make a new piece of art using 3D flowers I made and coloured as well as trying to do something different with her face.

Sunday 6 March 2011

Monmouth Woman's Festival

I was lucky enough to be able to get a stall at Monmouth Woman's Festival along with some very talented artists.  For me this was a first, I've never sold my art before, always giving away to family and friends.  What a wonderful experience it was, feed back from everyone who came and had a look at the art was so positive.  I shall be busy getting new pieces other.  This was my stall over the weekend.


Monday 28 February 2011

Kelly Rae Roberts inspirational pieces

I've been on a year long journey with the faces I have created, and the textures I have played with.  Along the way I have been inspired by many different artists especially those who's love was mixed media, but one stands out in particular and that is Kelly Rae Roberts, I just love the grunginess of the backgrounds today I put the final touches to my work and for the first time ever I am well and truly proud of where I have landed.


Wednesday 26 January 2011

A Whole VIllage

A whole village hand painted and scanned.  These would be ideal for  your art journal or scrapbook.


Tuesday 25 January 2011

Journal houses

I painted some houses on paper I had already prepared for one of my journals,  I just love how you can see the texture close up and the grungy look is soooooo nice.

Monday 24 January 2011

Faces

As you can see I have been busy, I've been trying new faces and overall I am pleased with them, these are well and truly done!


Monday 17 January 2011

Creating a digital stamp

How to create a digital stamp from an image


  1. Open an image with strong lines or shapes.
  2. Double click on your Background layer. Click on OK to convert it to Layer 0.
  3. Select Image, Adjustments, Brightness/Contrast. Adjust the sliders Brightness to the left and Contrast to the right, until you have kind of a sharp image.
  4. Now, select Image, Adjustments, Threshold. Your image will look black and white, move the slider that controls the Threshold to adjust it.
  5. From the Toolbox, select the Magic Wand and click on any white area of your image, that would select all the white. Now press the Delete key. Your image will keep the black with a transparent background.
  6. Select Image, Image Size… and resize your image to no more than 4 inches.
  7. Now it’s time to create a brush based on this image. Select Edit, Define Brush Preset..., give it a name and click OK.
  8. Remember to save your Brush by clicking the arrow that is pointing down next to your brush on the Toolbar. Then, click on the double arrows pointing to the right and choose Save Brushes.
  9. You can use this brush or digital stamp as many times as you need it.
Final result