

Sunday, 27 March 2011
An experiment
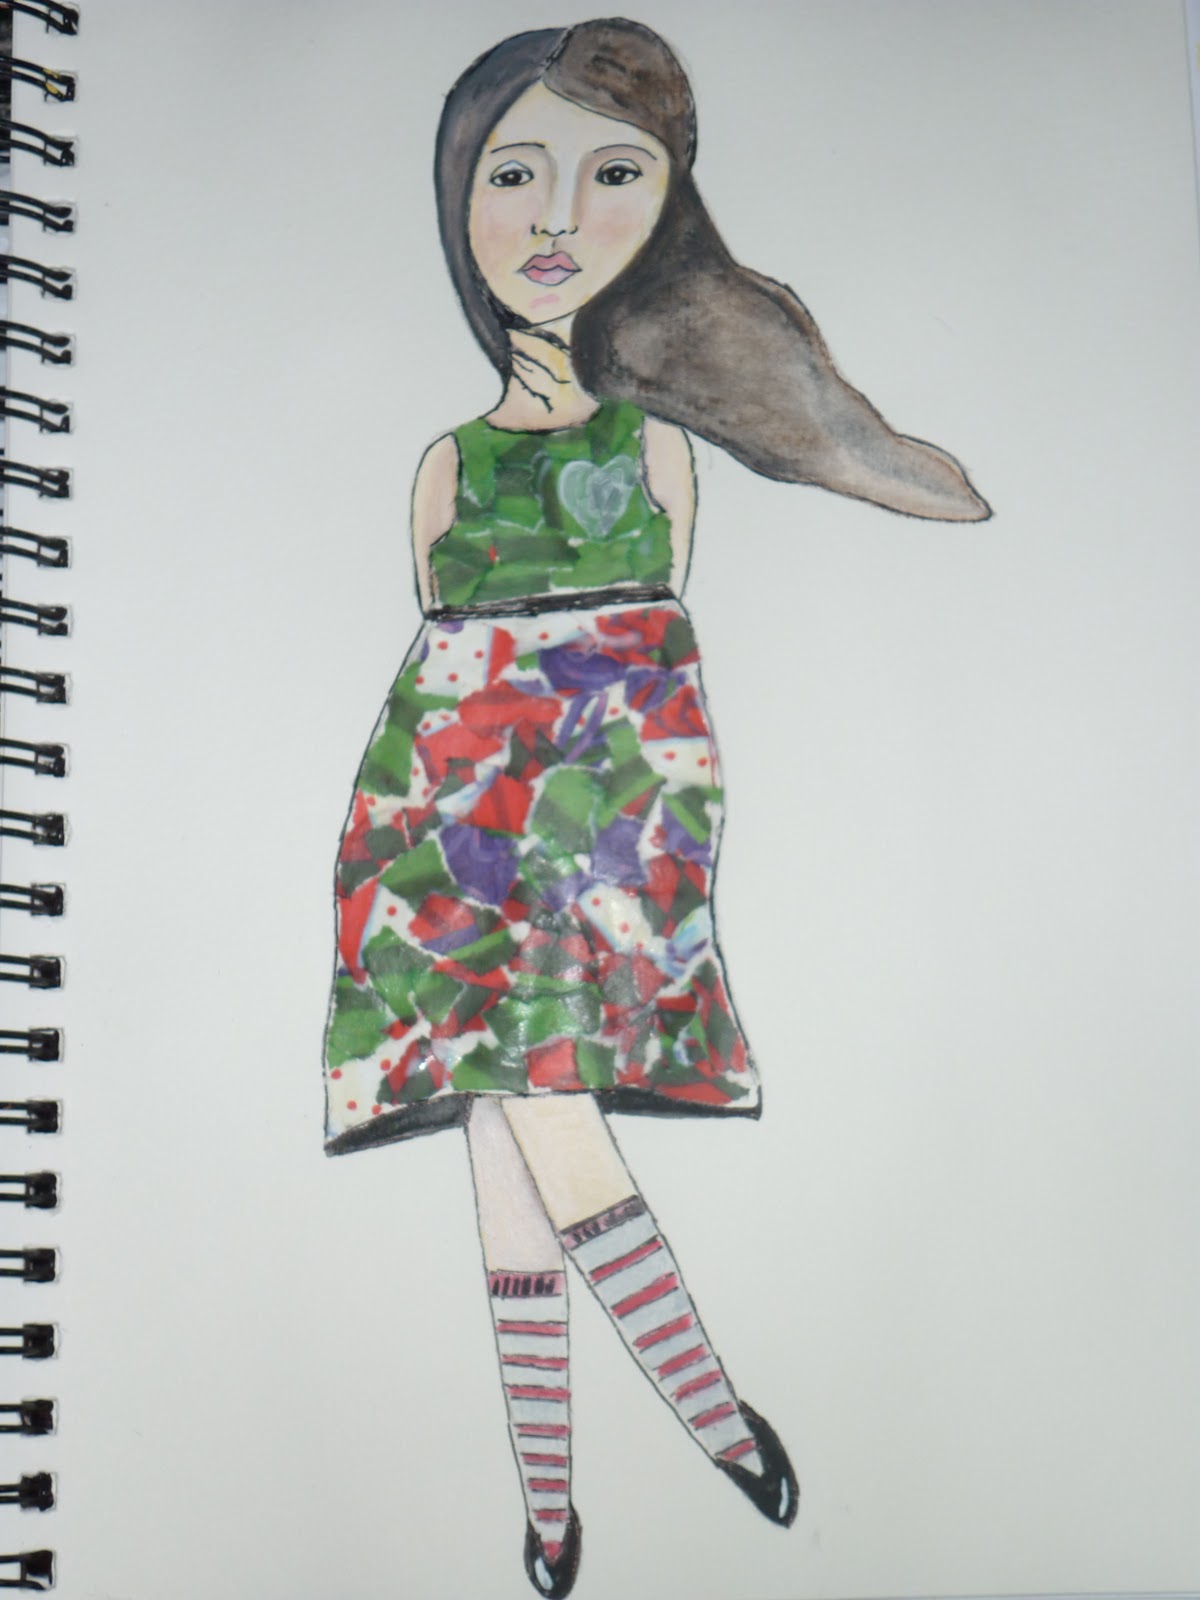
I decided to try and make a new piece of art using 3D flowers I made and coloured as well as trying to do something different with her face.

Sunday, 6 March 2011
Monmouth Woman's Festival
I was lucky enough to be able to get a stall at Monmouth Woman's Festival along with some very talented artists. For me this was a first, I've never sold my art before, always giving away to family and friends. What a wonderful experience it was, feed back from everyone who came and had a look at the art was so positive. I shall be busy getting new pieces other. This was my stall over the weekend.


Monday, 28 February 2011
Kelly Rae Roberts inspirational pieces
I've been on a year long journey with the faces I have created, and the textures I have played with. Along the way I have been inspired by many different artists especially those who's love was mixed media, but one stands out in particular and that is Kelly Rae Roberts, I just love the grunginess of the backgrounds today I put the final touches to my work and for the first time ever I am well and truly proud of where I have landed.


Wednesday, 26 January 2011
A Whole VIllage
A whole village hand painted and scanned. These would be ideal for your art journal or scrapbook.


Tuesday, 25 January 2011
Journal houses
I painted some houses on paper I had already prepared for one of my journals, I just love how you can see the texture close up and the grungy look is soooooo nice.


Monday, 24 January 2011
Faces
As you can see I have been busy, I've been trying new faces and overall I am pleased with them, these are well and truly done!


Monday, 17 January 2011
Creating a digital stamp
How to create a digital stamp from an image


- Open an image with strong lines or shapes.
- Double click on your Background layer. Click on OK to convert it to Layer 0.
- Select Image, Adjustments, Brightness/Contrast. Adjust the sliders Brightness to the left and Contrast to the right, until you have kind of a sharp image.
- Now, select Image, Adjustments, Threshold. Your image will look black and white, move the slider that controls the Threshold to adjust it.
- From the Toolbox, select the Magic Wand and click on any white area of your image, that would select all the white. Now press the Delete key. Your image will keep the black with a transparent background.
- Select Image, Image Size… and resize your image to no more than 4 inches.
- Now it’s time to create a brush based on this image. Select Edit, Define Brush Preset..., give it a name and click OK.
- Remember to save your Brush by clicking the arrow that is pointing down next to your brush on the Toolbar. Then, click on the double arrows pointing to the right and choose Save Brushes.
- You can use this brush or digital stamp as many times as you need it.

Subscribe to:
Comments (Atom)